

Engraving and add-ons
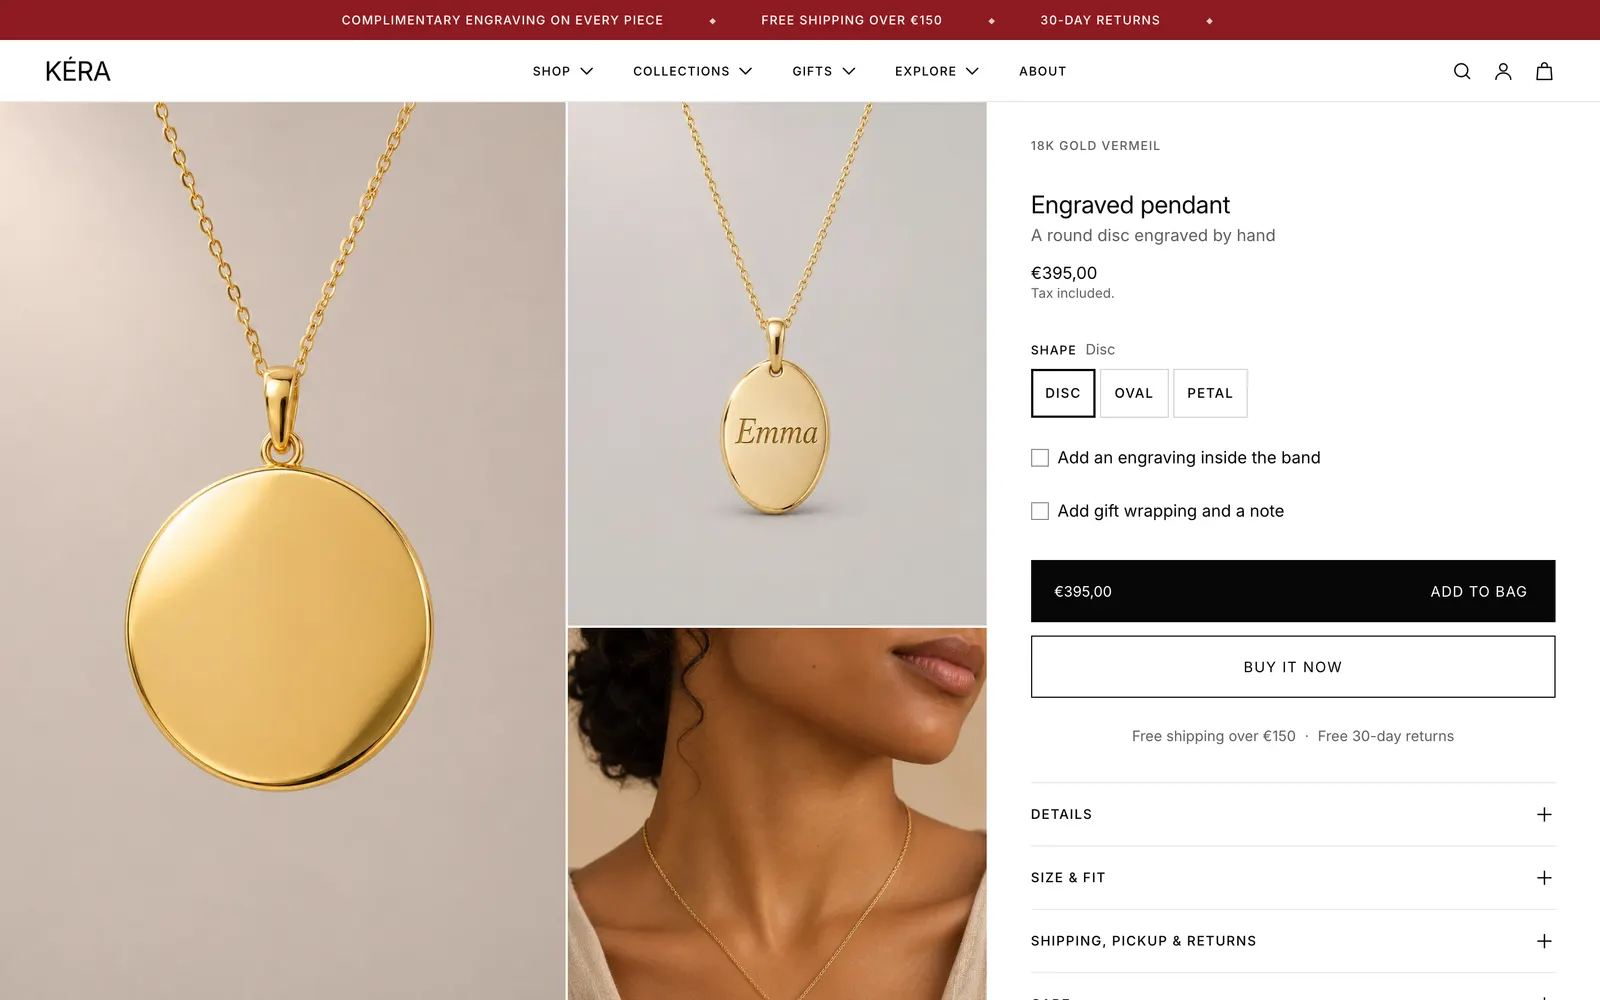
Take engraving text on the product page, and offer free or paid extras such as gift wrapping that go into the bag with the piece.
Two blocks, no app needed. Engraving takes a line of text and saves it on the order line. Optional extra is a tick box for an extra, such as gift wrapping, with an optional text field; paid extras are charged through a product of their own.
Set it up#
- In the Shopify admin, open a product and set Theme template to engraving.
- In the editor, open Products > engraving (opens Shopify admin in a new tab). For free engraving, click the eye icon on the hidden Engraving block and remove the first Add-on. For paid engraving, keep that Add-on and pick its Add-on product.
- On the Engraving block, set Label, Maximum characters and, if every order needs it, Required.
- For another paid extra, such as gift wrapping, create a product and pick it as an Optional extra block's Add-on product. Leave it empty for a free extra.
For shapes, several lines, lettering and a preview on the photo, see Engraving studio.
Do it with Sidekick
Open Sidekick in the Shopify admin and paste this, with your own names and numbers. Check what it fills in before you save.
Set the theme template to "engraving" for every product in the Engravable collection.
Create a product called "Gift wrapping" priced at €6, with inventory not tracked.
Settings#
Engraving block settings
| Setting | What it does |
|---|---|
| Display | In the page or Row that opens a drawer (a bottom sheet on phones). The row shows the text once typed. Installs as In the page. |
| Row label | Drawer only. Installs as "Add an engraving". |
| Label | The field label and the name the text is saved under on the order. Installs as "Engraving". |
| Placeholder | Installs as "Initials or a date". |
| Helper text | A hint under the field. Installs as "Letters, numbers and spaces". |
| Maximum characters | 4 to 40, default 12. A counter shows the characters left. |
| Required | Installs off. When off, the label shows "(optional)". |
| Show live preview | Shows the typed text in a preview line. Installs on. |
Add-on block settings
| Setting | What it does |
|---|---|
| Label | Text next to the tick box. |
| Add-on product | Added to the bag with the piece. Empty makes a free extra. |
| Show a text field | Opens a field when the box is ticked. Installs on. |
| Field name | The name the text is saved under on the order. Installs as "Gift note". Empty uses Label. |
| Placeholder | Sample text in the empty field. |
| Maximum characters | 4 to 200, default 120. |
| Helper text | A line under the field. |
| Text required when ticked | The ticked box needs text before Add to bag. Installs off. |
Good to know#
Where do I see the engraving text?
On the order in the Shopify admin, on the piece's line, under the Engraving Label or the Add-on Field name. Add-on text goes on the piece's line, not the extra's.
How do paid extras work?
Its price shows next to the label with a plus sign. When ticked, Add to bag adds it at the piece's quantity, marked "For:" with the piece's name. Changing the piece's quantity changes the extra's; removing the piece removes it. A sold-out add-on product hides the block. Give the extra product a price, keep it out of your collections, hide it from search (see Metafields the theme reads), and make sure it's on the Online Store sales channel.
Can I use the blocks on other templates?
Yes. Add Engraving and Add-on blocks to any product template, and as many Add-on blocks as you need. The engraving template's two Add-on blocks install free, with no Add-on product; the first asks for the engraving text when ticked. If Required is on and the Engraving field is in a drawer, Add to bag opens the drawer and asks for the text.